


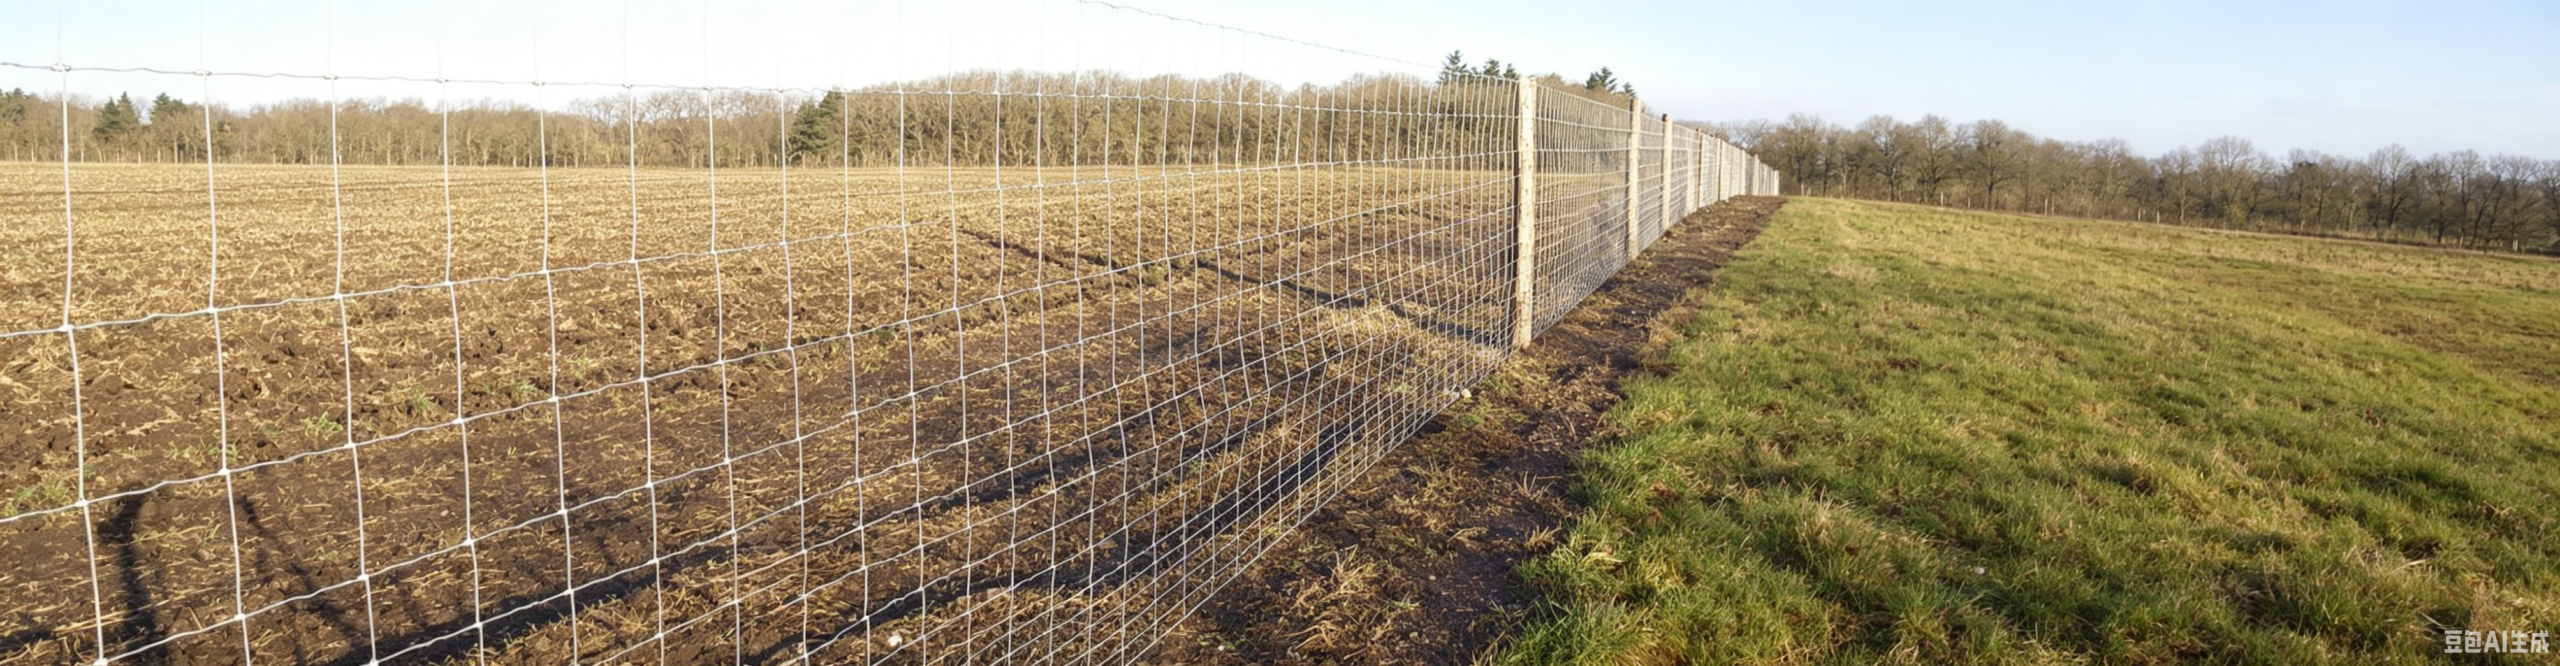
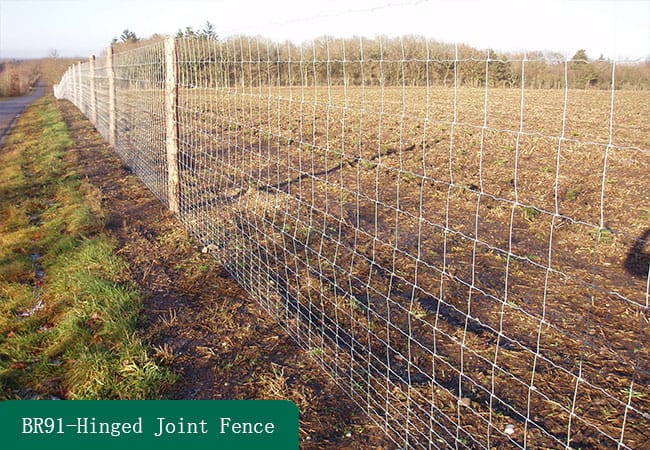
Hinged Joint Fence
Product Details– BENDIN
What is a Hinged Joint Fence?
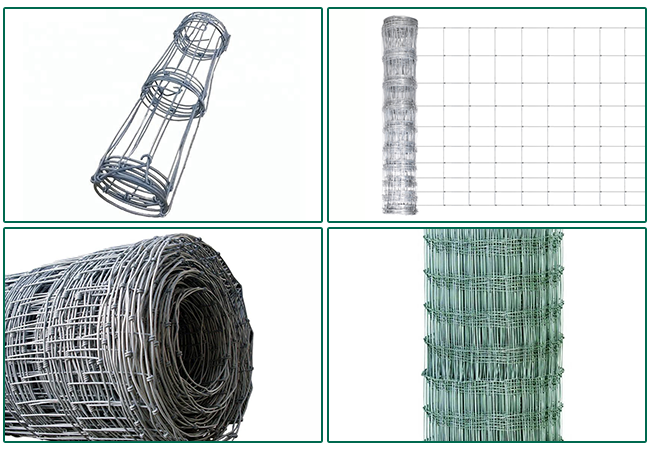
Commonly referred to as Chain Link Hinged Fence, hinged joint fencing constitutes a versatile boundary enclosure solution renowned for flexible interlocking wire structure, decorative appeal and effortless field fitting. Distinguished by interconnected hinged wire knots and matched round metal support posts, this fencing balances reliable safeguarding performance, neat exterior design and long-term service life perfectly.
Hinged Joint Fence Specifications
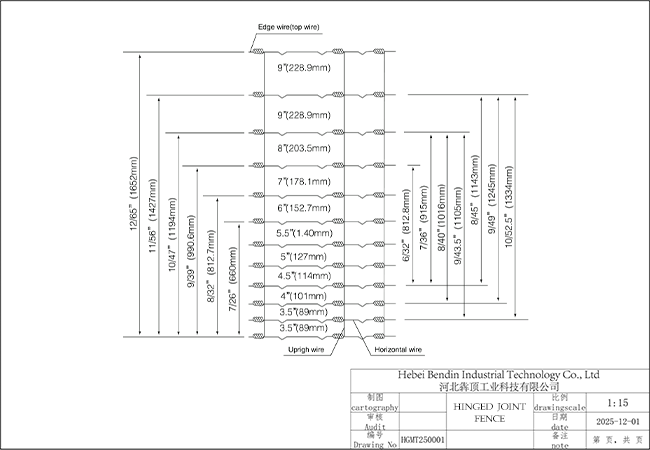
Type:7/150/813/50,8/150/813/50,8/150/902/50,8/150/1016/50,8/150/1143/50,9/150/991/50,9/150/1245/50,10/150/1194/50,10/150/1334/50
The incremental vertical hole sizes: 102+114+127+140+152+178,89 (75)+89+102+114+127+140+152,89+102+114+127+140+152+178,102+114+127+140+152+178+203,114+127+140+152+178+203+229,89 (75)+89+102+114+127+140+152+178,102+114+127+140+152+178+203+229
89(75)+89+102+114+127+140+152+178+203,89+102+114+127+140+152+178+203+229,89 (75)+89+102+114+127+140+152+178+203+229
GrossWeightkg:19.3/20.8/21.6/22.6/23.6/23.9/26.0/27.3/28.4/30.8.
Top and Bottom.mm:2.5.
Inner Wire Dia.mm:2.0.
Roll Dia.mm: 270.
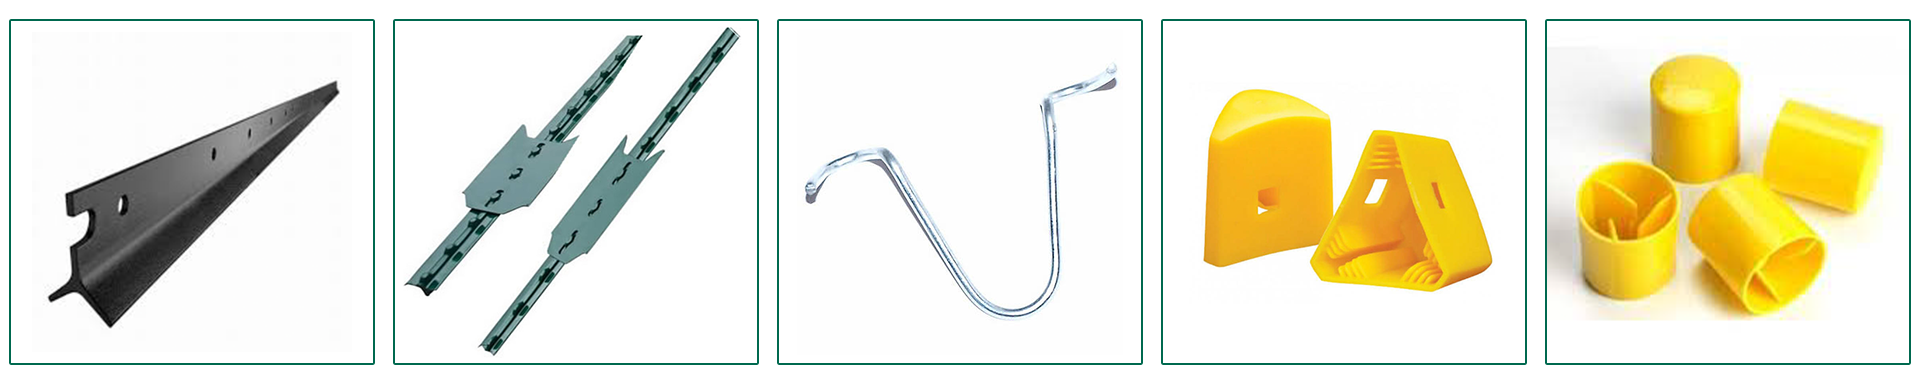
Special Accessories
- Hinged Joint Fence
Full-Service Industrial Chain
We provide a complete industrial chain covering production, coating, on-site installation and standardized warehousing services.
Applications of Hinged Joint Fence
Production Process
30+ years metal fence design experience, 30+ technical team; modular & scene-specific customization
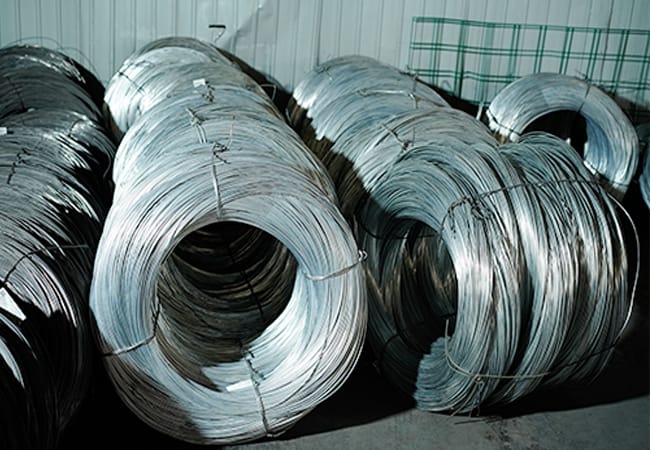
We select high-quality steel with strict testing, ensuring durability, corrosion resistance and stable performance for all fence products.
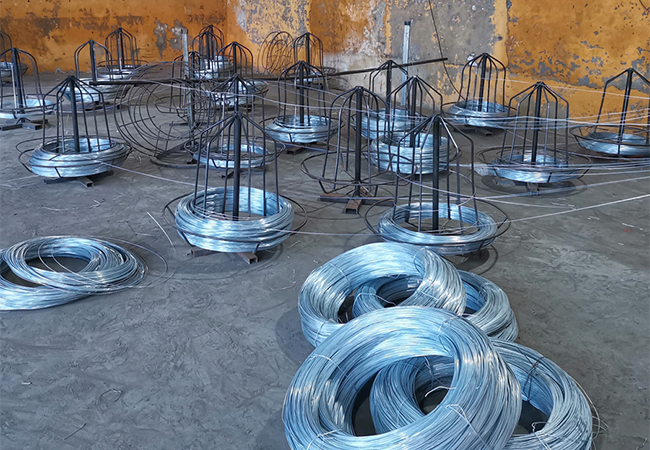
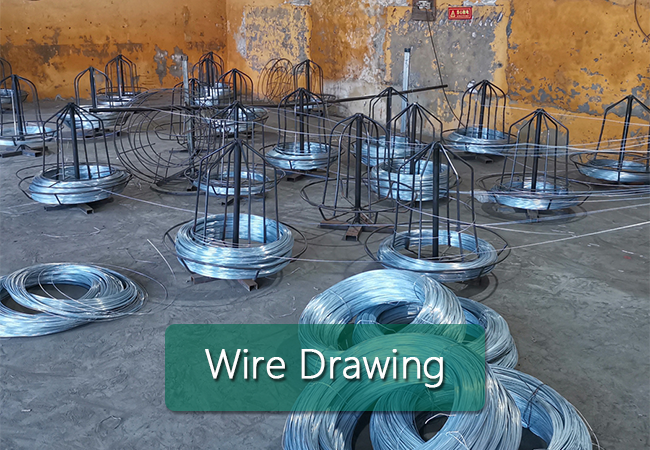
Precision drawn steel wire keeps consistent thickness, uniform mesh strength; improves anti-rust coating adhesion and long service life.
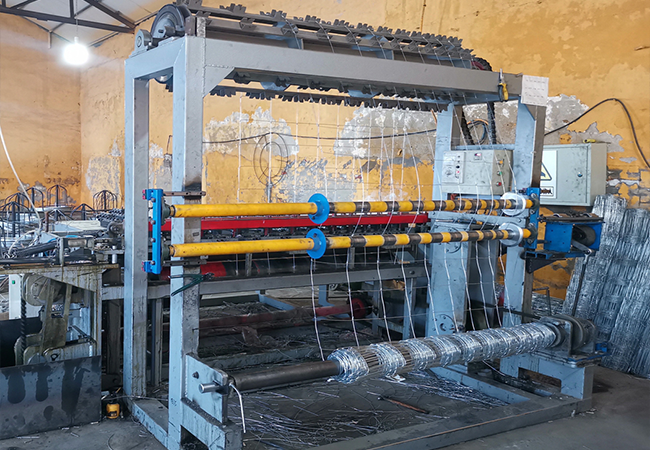
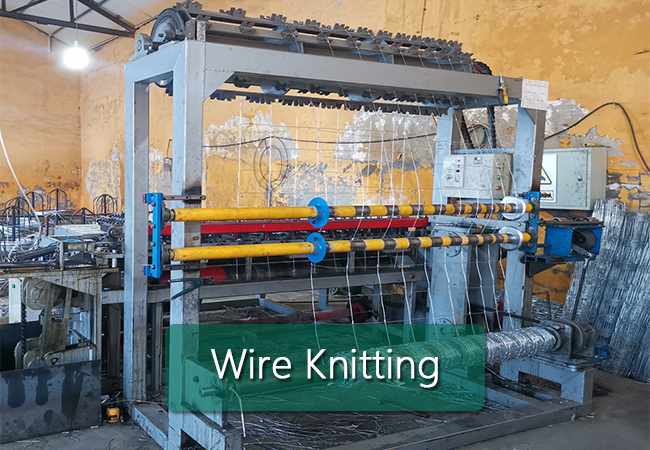
Hinged interlock weaving brings flexible mesh to absorb livestock/rock impacts, no easy deformation; convenient roll packing and quick field installation.
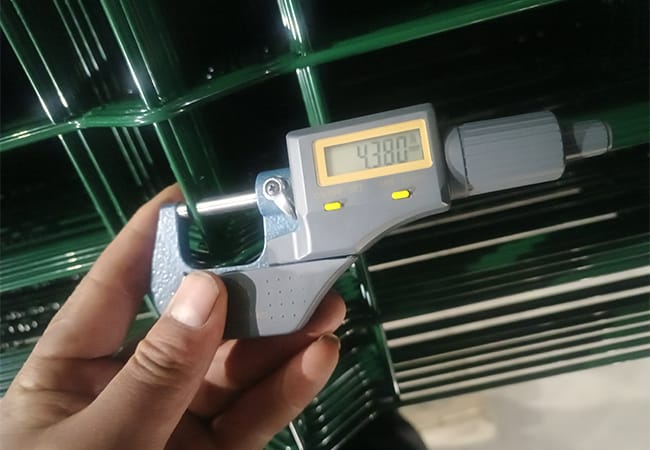
Strict quality inspection at each process ensures fence quality meets standards, with no defects and stable performance.
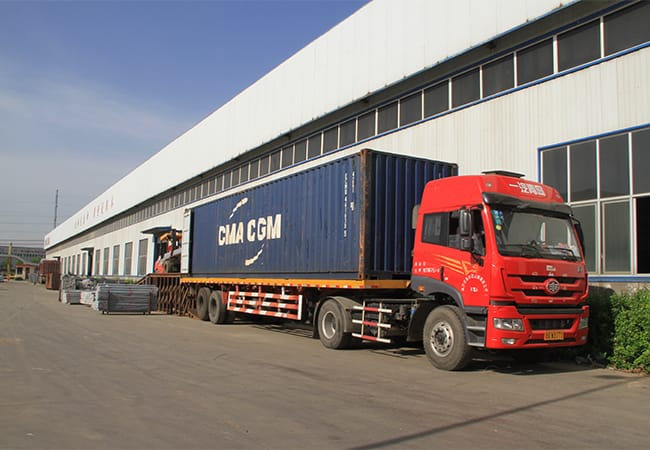
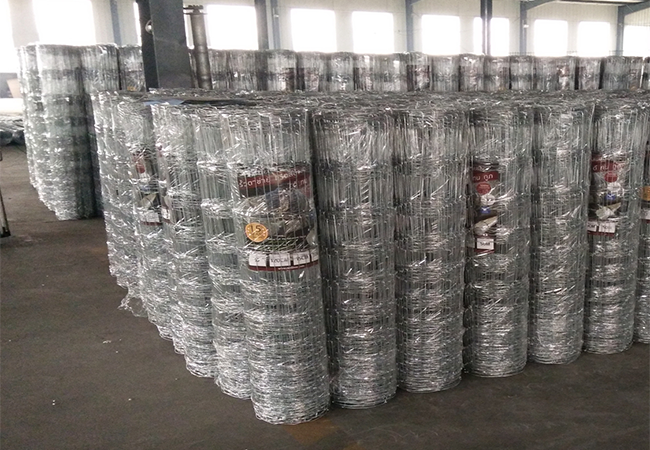
Standardized packaging protects products well; safe and efficient shipping ensures on-time delivery to global customers.
Related Product
Detailed Installation Process for Hinged Joint Fence
The installation of Hinged Joint Fence requires strict adherence to operational standards and detailed steps to ensure the overall stability, safety and aesthetic appearance of the fence. Below is the expanded and detailed installation process, with in-depth explanations of each step, key points and precautions:
1. Site Preparation & Marking
Before starting the installation, thorough site preparation is the foundation to ensure the smooth progress of subsequent operations. First, clear the entire construction area, remove all obstacles such as stones, weeds, garbage and sundries that may affect the installation, and clean the ground to avoid interference with positioning and drilling. Then, use a level to check the flatness of the installation ground; if there are local uneven areas, level them with fine soil or concrete to ensure that the fence can be installed vertically and stably. Next, according to the design drawings and actual installation requirements, use professional measuring tools (such as tape measure, theodolite and ink line) to mark the installation positions of each fence post and hinged joint fence panel. The spacing between posts should be strictly in line with the design specifications (usually 2-3 meters, which can be adjusted according to the fence height and load-bearing requirements), and the marking lines should be straight and clear to ensure that the overall layout of the fence is neat and consistent. At the same time, mark the depth of the post holes on the ground according to the height of the posts (generally, the buried depth of the posts is 1/3-1/4 of the total height, ensuring sufficient stability to resist wind and external impact).
2. Post Installation
Post installation is the core link affecting the overall stability of the hinged joint fence, and every detail needs to be strictly controlled. First, use an electric drill or excavator to dig holes at the marked positions; the diameter of the holes should be 1.5-2 times the diameter of the posts to leave enough space for pouring concrete and ensuring the firmness of the posts. After digging the holes, clean the soil and debris at the bottom of the holes to avoid uneven stress on the posts. Then, place the fence posts vertically into the holes, and use a plumb line to check the verticality of the posts (both front and back, left and right directions should be perpendicular to the ground, with an error not exceeding 3mm), and use wooden stakes or temporary supports to fix the posts to prevent them from tilting during concrete pouring. Next, pour high-strength concrete (cement, sand and gravel ratio is usually 1:2:3) into the holes, and continuously tamp the concrete with a tamper during the pouring process to eliminate air bubbles and ensure that the concrete is closely combined with the posts and the hole wall. After pouring, smooth the surface of the concrete and make it slightly higher than the ground to prevent water accumulation from eroding the posts. Finally, let the concrete fully solidify; the solidification time is not less than 24 hours (the solidification time should be appropriately extended in low temperature or humid environment) to ensure that the posts are firmly fixed in the ground and cannot be shaken.
3. Hinged Panel Positioning & Alignment
After the concrete of the posts is completely solidified, the positioning of the hinged joint fence panel can be carried out. First, check the pre-installed hinge bases on the posts and the hinge connectors on the fence panel to ensure that the hinge structures are intact, the rotation is flexible, and there is no deformation or blockage. Then, manually lift the hinged joint fence panel (pay attention to protecting the surface and hinge parts to avoid scratches or jamming), and align the panel hinges with the fixed hinge bases on the two adjacent posts. During the alignment process, adjust the height and position of the panel: the bottom of the panel should be 5-10cm above the ground to prevent water accumulation and corrosion, and the hinged connection should be smooth without jamming. At the same time, ensure that the gap between adjacent panels is uniform (usually 2-5mm) to adapt to the flexible rotation of hinges and avoid uneven stress. After adjusting to the correct position, use temporary fixing pins to fix the hinges temporarily to prevent the panel from shifting during the fastening process.
4. Fastening with Special Hinge Accessories
The fastening of special hinge accessories directly affects the connection firmness and rotation flexibility between the fence panel and the posts, and is an important guarantee for the service life of the fence. First, select matching special hinge accessories according to the model of the fence, including hinge pins, locking screws, washers, fixing clips and reinforced brackets (preferably anti-rust and anti-loosening accessories to improve corrosion resistance and stability). Then, insert the hinge pins into the aligned hinge holes, and install washers and locking screws in sequence; when tightening, use a torque wrench to control the torque (usually 30-50N·m) to ensure that the screws are tightened evenly, without over-tightening (to avoid affecting hinge rotation) or under-tightening (to avoid looseness). For the corner and curved sections, use special corner hinges to fix, ensuring flexible rotation and uniform stress. After fastening all the accessories, test the rotation of each hinge group to confirm flexible rotation, no jamming or looseness, and the accessories are installed in place without missing or misplaced parts.
5. Level & Integrity Check
After the installation of the fence panel and hinge accessories is completed, a comprehensive level and integrity check is required to ensure that the installation quality meets the standards. First, use a level and plumb line to check the levelness of the hinged joint fence panel and the verticality of the posts again: the levelness error of the panel should not exceed 2mm per meter, and the verticality error of the posts should not exceed 3mm in total. Then, check the overall alignment of the fence: the entire fence should be straight, the hinge connections are tight and consistent, and there should be no obvious skew or unevenness. At the same time, check the connection firmness and rotation performance of each part: gently shake the fence panel and test the hinge rotation to ensure that there is no obvious shaking, and the screws and hinge accessories are not loose. If any problems are found (such as skew, looseness, uneven gap), adjust them in time: if the posts are skewed, you can chisel the concrete around the posts, adjust the verticality and re-pour the concrete; if the panel is uneven or hinges are jammed, adjust the position of the fasteners or add gaskets to ensure flatness and flexible rotation.
6. Cleaning & Acceptance
The final step of the installation process is cleaning and acceptance, which ensures the aesthetic appearance of the fence and confirms that the installation is up to standard. First, use a clean cloth or air compressor to remove dust, debris, concrete residues and fingerprints on the surface of the fence posts, panels and hinge accessories, especially the hinge rotation parts and connection points, to avoid affecting the surface finish and corrosion resistance. If there are scratches or stains on the surface of the fence, use professional cleaning agents to clean them (avoid using corrosive cleaning agents to prevent damage to the surface treatment layer). Then, carry out a comprehensive acceptance according to the design drawings and installation standards: check the installation position, spacing, verticality, levelness and hinge connection firmness of the fence; check whether the surface of the fence is intact, without scratches, deformation, rust or other defects; check whether the special hinge accessories are complete and installed in place. After the acceptance is qualified, the installation work is officially completed. If unqualified items are found, they should be rectified in time until they meet the acceptance standards.
Note
During the entire installation process, construction personnel should wear protective equipment (such as safety helmets, gloves and safety shoes) to ensure construction safety. In addition, pay attention to the protection of the fence surface and hinge parts during installation to avoid damage to the surface treatment layer (such as galvanizing, spraying) and hinge structures which may affect the corrosion resistance, service life and rotation performance of the fence.
Hinged Joint Fence by Hebei Bendin Industrial
Hebei Bendin Industrial Technology Co., Ltd, located in Anping—the renowned “China Wire Mesh Hometown” of Hebei Province, is a professional manufacturer and exporter of high-quality metal fencing solutions with over 30 years of industry expertise. Our Hinged Joint Fence is a flagship high-performance flexible fencing system, engineered with precision hinged joint structures to deliver exceptional flexibility, reliable connection, long service life and a neat modern appearance. Crafted from premium low-carbon steel wires via fully automatic precision welding, our hinged joint fence features firm joints, stable structure and zero welding defects. The unique hinged joint design enables flexible angle adjustment, effectively adapting to complex terrains and ensuring stable connection without deformation. We offer three durable surface treatments—hot-dip galvanizing, powder coating and PVC/PE coating—ensuring outstanding corrosion, rust and UV resistance for long-lasting performance in harsh outdoor environments, with a service life of up to 15+ years.
Detailed Installation Process for Hinged Joint Fence
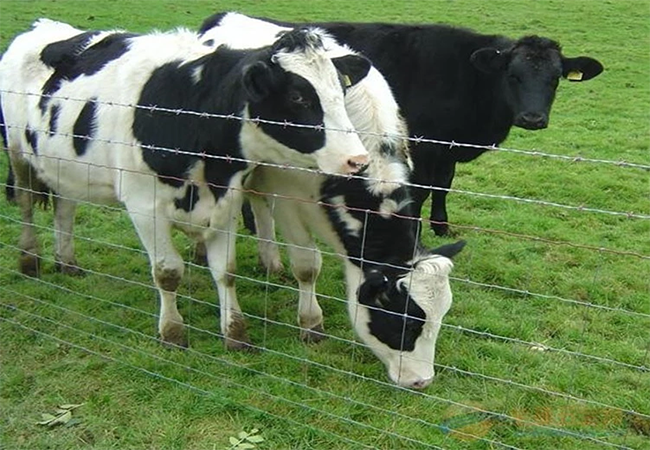
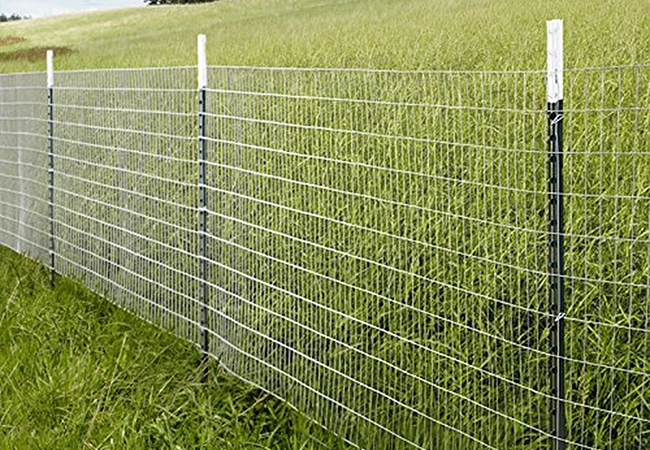
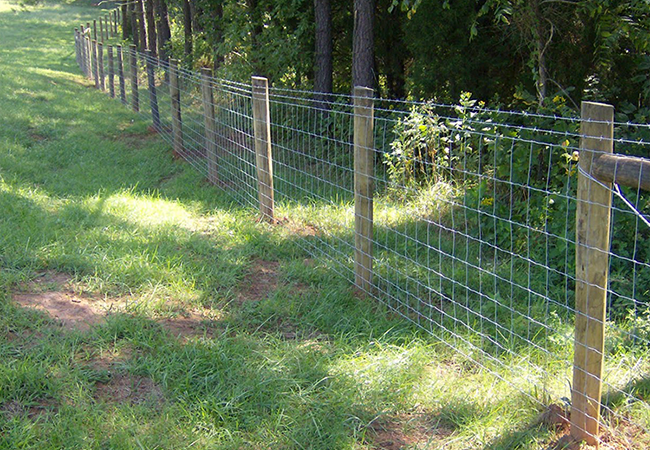
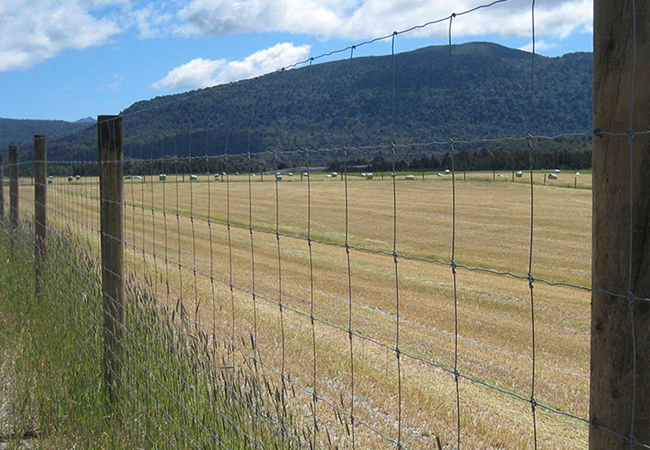
Its main applications cover a wide range of fields with high requirements for safety, durability and terrain adaptability. In residential areas, it is widely used for villas, apartments, residential communities, private courtyards and community boundaries, providing reliable safety protection while maintaining an elegant and neat visual effect. In commercial & industrial fields, it serves as ideal fencing for factories, workshops, warehouses, power plants, logistics parks, industrial zones and equipment areas, with strong stability and anti-damage performance to ensure safe and orderly operation of the site. For public infrastructure, it is suitable for roads, railways, airports, ports, wharves, bridges and transportation facilities, effectively isolating dangerous areas, guiding traffic and adapting to complex terrain changes. In landscaping and public places, including parks, gardens, schools, scenic spots, green belts and stadiums, it perfectly combines protection function with landscape design, making the environment more beautiful and orderly. In construction and renovation projects, it can be used as temporary site enclosures, construction perimeter isolation, renovation barriers and temporary safety fencing, featuring convenient installation, strong flexibility and reusability.
Core Advantages
Superior Flexibility & Terrain Adaptability: Unique hinged joint design supports free angle adjustment, perfectly adapting to sloped, uneven, curved and irregular terrains without cutting or modification.
Reliable Connection & Stability: Precision hinged structure ensures tight and firm connection between panels, high wind resistance and anti-vandal performance, not easy to loose or deform.
Long-Lasting Durability: Weatherproof, UV-resistant and rust-proof with premium surface treatment, stable performance under extreme sun, rain, snow and temperature changes for long service life.
Modern Aesthetics: Neat and smooth profile with concealed hinged joints, blends seamlessly with residential, industrial and public landscapes, enhancing overall visual appeal.
Cost-Effective: Modular hinged panels and standard posts enable fast, welding-free installation, cutting labor and time costs; minimal daily maintenance further reduces long-term expenses.
Easy Installation & Adjustment: Hinged plug-in design realizes quick assembly and disassembly, convenient for on-site angle adjustment and later maintenance.
High Structural Strength: Reinforced mesh structure with hinged reinforced connectors provides outstanding impact resistance and load-bearing capacity, superior to traditional fences in stability and reliability.