


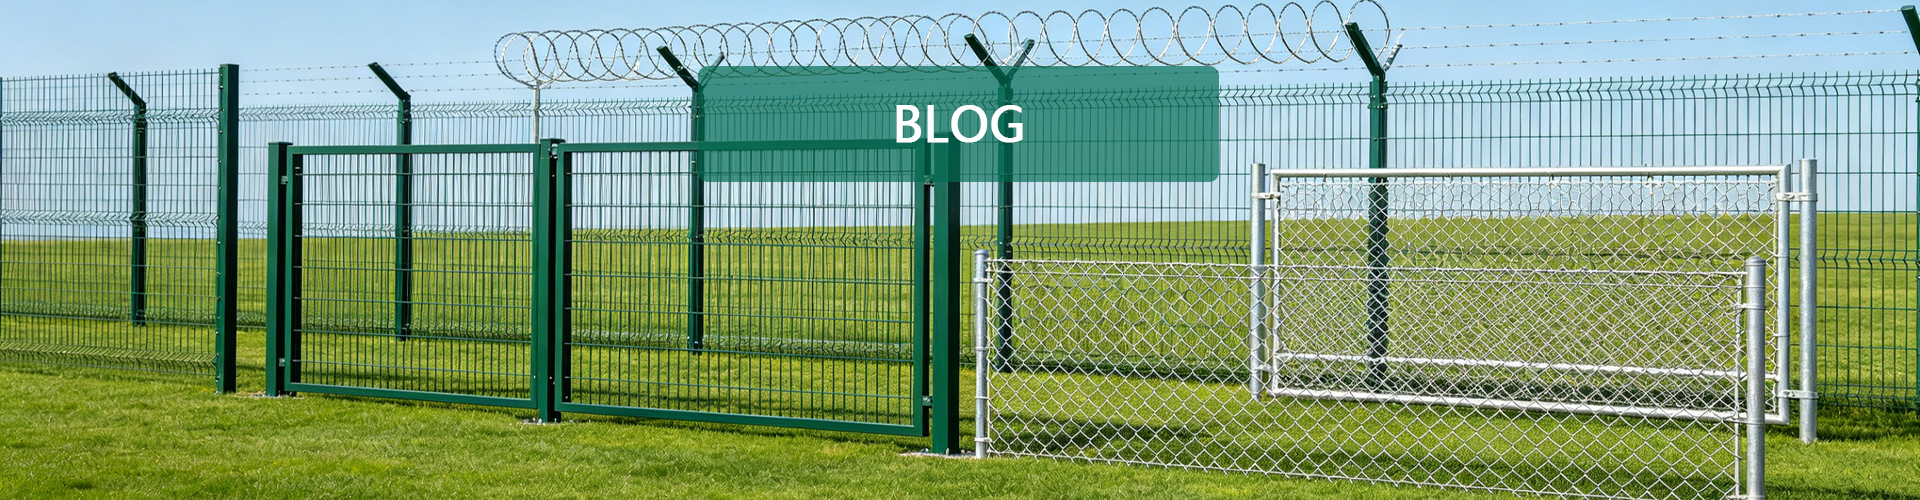
Tubular steel fence is one of the most versatile perimeter fencing solutions for residential compounds, commercial parks, school campuses, industrial factories and municipal public areas. It balances sturdy structural performance, clean modern appearance and low long-term maintenance costs.
However, high-quality tubular fence panels cannot guarantee a perfect project result alone. Most common site problems such as uneven fence lines, shaking posts, loose joints and premature rusting are caused by non-standard installation. This full tubular fence installation guide explains every construction step in detail, from site preparation to final acceptance, helping builders deliver stable, neat and long-lasting tubular fencing systems.
1. Pre-Installation Site Preparation & Layout
Standard pre-construction preparation ensures accurate positioning, straight fence lines and unified overall aesthetics.
1.1 Site Clearing & Hazard Inspection
Clear all weeds, gravel, debris and protruding obstacles along the planned fence route. Level uneven ground and check underground pipelines, cables and drainage systems in advance. This step avoids construction damage and ensures a smooth, continuous fence foundation.
1.2 Accurate Line Marking & Post Positioning
Use laser levels, measuring tapes and tension lines to mark the exact fence path. Precisely mark positions for corner posts, end posts, gate reinforced posts and standard middle posts. Keep uniform post spacing (usually 2.0m–2.5m) to perfectly match tubular panel width, avoiding stretched or misaligned panels.
1.3 Terrain Classification Confirmation
Classify flat ground, gentle slopes and steep slopes in advance. Formulate horizontal installation for flat terrain, inclined installation for gentle slopes and stepped installation for steep terrain to eliminate bottom gaps.
2. Foundation Construction & Post Installation
The fence post foundation determines the overall stability, wind resistance and service life of the tubular fence system.
2.1 Standard Post Hole Digging
Follow the industrial standard: the buried depth accounts for one-third of the total post height. For conventional 1.2m–2.4m tubular fence, the hole depth ranges from 500mm to 800mm. Lay 100mm gravel at the bottom for drainage to prevent water accumulation and internal pipe rusting. Deepen the foundation appropriately for soft soil and open windy sites.
2.2 Vertical Post Calibration
Place square tubular posts vertically into the holes. Use a level to calibrate verticality in two directions to ensure no tilting. Unify the height of all posts to keep the entire fence line flat and consistent.
2.3 Concrete Pouring & Curing
Pour standard concrete and compact tightly to remove internal voids. Keep posts stable during pouring. Allow 24–48 hours of natural curing before panel installation. Installing panels on uncured concrete easily causes post displacement and permanent deformation.
2.4 Bolt-Down Installation for Hard Ground
For finished floors, parking lot slabs and hard pavement where digging is forbidden, adopt flange base plate fixing. Drill precise holes, install expansion bolts and lock posts firmly to the ground without damaging the original pavement structure.
3. Tubular Fence Panel Assembly & Fixing
Standard panel assembly ensures tight connection, flat surface and unified visual effect of the whole fence.
3.1 Pre-Assembly Panel Inspection
Check tubular panels for flatness, welding quality, smooth burr-free surface and complete coating. Remove unqualified deformed or scratched panels before installation.
3.2 Sequential Panel Mounting
Start installation from corner posts and extend to the middle sections. Align panel reserved holes with post fixing points accurately. Use matched anti-rust bolts and special brackets for fixed connection. Do not use irregular screws to avoid coating damage and rust spots.
3.3 Gap & Height Adjustment
Unify the height of all panels. Adjust the gap between panels and posts to ensure tight fitting. For sloped terrain, adjust the panel angle uniformly to keep the overall fence line smooth without staggered heights.
4. Gate & Supporting Accessories Installation
Gates and accessories determine the usability, safety and completeness of the tubular fence system.
4.1 Reinforced Gate Post Installation
Gate posts bear frequent opening and closing impact. Use thickened heavy-duty tubular posts and enlarge the concrete foundation to enhance stability and prevent long-term shaking and loosening.
4.2 Hinge & Latch Fitting
Install heavy-duty galvanized hinges and safety latches. Debug the gate repeatedly to ensure flexible opening and closing, tight closing and reliable locking. For school and residential areas, install anti-pinch and self-closing devices as required.
4.3 Finishing Accessories Installation
Install waterproof post caps, decorative tops and protective accessories. Seal all exposed bolt ends to prevent water penetration and extend anti-rust life.
5. Overall Inspection & Project Acceptance
Complete comprehensive acceptance after construction to ensure the project meets safety and aesthetic standards.
- Line flatness: Straight fence line, uniform height, no uneven sections or obvious deviation
- Structural stability: Posts and panels are firm without shaking; all connection bolts are fully tightened
- Safety performance: Smooth burr-free surface, standard bar spacing, no potential safety hazards
- Appearance quality: Uniform coating color, no scratches, peeling or rust spots
- Gate function: Flexible opening and closing, stable locking, no jamming or shaking
6. Common Tubular Fence Installation Errors to Avoid
- Too shallow post burial leading to poor wind resistance and tilting
- Installing panels before concrete curing causing overall displacement
- Inconsistent post spacing resulting in uneven panel gaps
- Random drilling and cutting damaging the anti-corrosion coating
- Neglecting slope adaptation causing bottom gaps
- Using inferior bolts leading to loose connections and rusting
FAQ About Tubular Fence Installation
Q1: How deep should tubular fence posts be buried?
The standard burial depth is one-third of the post’s above-ground height. Conventional tubular fences require 500mm–800mm depth. Soft soil and windy areas need deeper foundations for better stability.
Q2: Can tubular fence be installed on sloped ground?
Yes. It supports inclined installation for gentle slopes and stepped installation for steep terrain, ensuring no bottom gaps and neat overall appearance.
Q3: How long does concrete need to cure for tubular fence installation?
Standard curing time is 24–48 hours. External force and panel installation during curing will cause post deviation and structural instability.
Q4: Is tubular fence installation suitable for DIY?
Small residential garden fences can be DIY installed with standard steps. Large industrial, commercial and campus projects require professional construction to ensure overall stability and uniformity.
Q5: How to prevent tubular fence from rusting after installation?
Avoid coating damage during construction, tighten all sealing accessories, clean surface dust regularly, and repair small scratches in time to maintain the complete anti-corrosion layer.
Conclusion
Standard tubular fence installation is the key to stable structure, beautiful appearance and long service life. Every step from site layout, foundation construction, panel assembly to final inspection directly affects the overall project quality. Following professional installation standards can effectively avoid common construction defects, reduce later maintenance costs, and provide reliable perimeter protection for residential, commercial, educational and industrial sites.